
If you want to make your space interesting and inviting, use a black mirror framing kit and see the magic of how it changes the look and feel. This simple step can complete your space. The frame adds style and aesthetic, and makes the mirror stand out in any room.
It can also blend in with the style of your walls or furniture. Additionally, it increases safety by protecting sharp edges and strengthening the mirror’s attachment to the wall. This is useful in crowded spaces where mirrors are often used, such as restrooms or hallways.
A suitable frame can also help in shielding the edges from minor damage.
The benefit is that no particular expertise is required. The mirror can be given a clean, new appearance with a few simple tools and some patience.
Additionally, you will find straightforward procedures that work for many setups and basic home projects in this book.
Selecting the Best Mirror Framing Technique
Choose a frame technique that suits your mirror, available space, and level of expertise before you begin. Although wood trim is adaptable and creates a unique appearance, it might not be appropriate for every project.
Tools & Materials Required to Frame a Mirror
To start with, you need a few essentials. Get high-quality materials to ensure the frame fits well and lasts a long time. Clean cuts and a smooth finish are further benefits of using good prep equipment.
How Can a Beginner Frame a Mirror?
This easy DIY uses simple tools and trim to improve a plain mirror. It may be completed in a few simple steps, adds style, and saves money.
Step 1: Add A Wooden Strip For Depth
Measure the distance between the mirror and the wall to establish the appropriate depth for your frame. Cut a thin piece of wood to the same depth, then use adhesive to attach it to the rear of the trim.
Apply the adhesive evenly on both surfaces to ensure that it sticks. Press the pieces together and use clamps to keep them in place while they dry.
Let it completely dry before starting. This additional strip offers your mirror a neat, well-fitting frame and helps the trim sit flat.
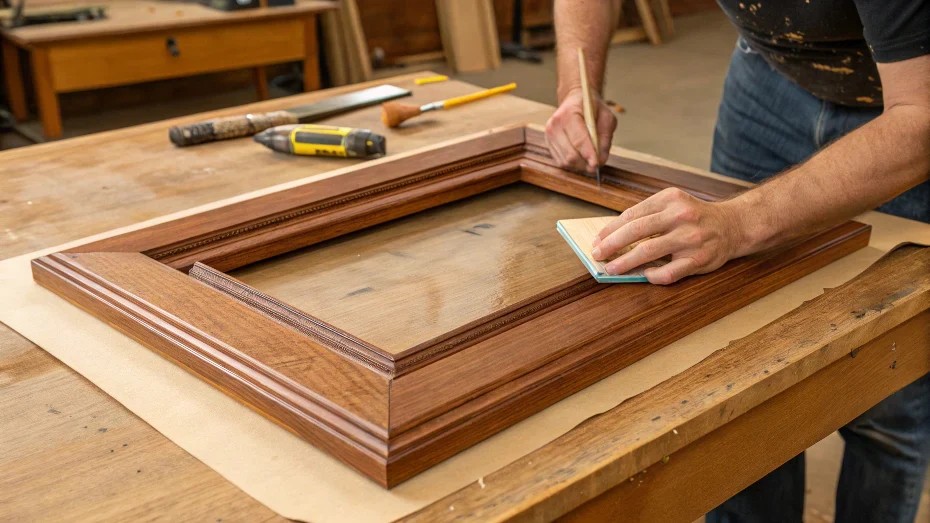
Step 2: Sand and Prep the Trim
After the adhesive strip has completely dried, smooth its surface with 120-grit sandpaper. The area where the extra strip joins the trim should be smoothed.
Sanding gets rid of sharp edges and gets the wood ready for paint and priming.
A smooth surface results in a cleaner finish and improves paint adhesion. To ensure that the trim appears uniform and is prepared for the subsequent finishing stages, take your time sanding all of the edges.
Step 3: Carefully Prime And Paint
Prime all bare wood surfaces to make sure the paint adheres correctly and lasts longer. Once the primer has dried, paint the trim evenly on all visible surfaces for a smooth finish.
Concentrate on the inner edge that faces the mirror since it will reflect in the glass and reveal any areas that were overlooked.
If you leave it bare, the reflection may show raw wood. Additionally, to ensure a solid bond when the trim is affixed to the mirror, keep paint off places where glue will be applied later.
Step 4: Measure and Plan Cuts
Make sure the mitre saw is cutting correctly by setting it to a 45-degree angle. Make sure both matching sides of each trim piece are the same length when you carefully cut it.
Step 5: Apply Adhesive and Attach the Mirror
The last step is to apply adhesive to attach the mirror and let it dry to fix it properly.